I used brand new #30 drill bits for this, and went through a couple of them.
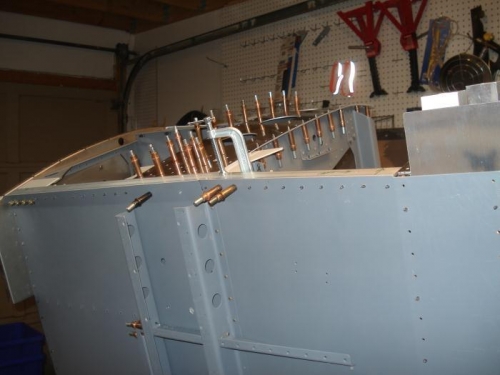
Repeated the steps of the left lower longeron and drilled all the #30 holes, enlarged the #12 and #19 holes and clecoed everything up as I drilled.
Vacuumed all of the shavings up and did a little tidying in the garage.
I got a call from Bob yesterday and my fairings are enroute to Lewiston, NY. I'll pick them up next week as were heading down to Fort Myers for the March break.
I sent back the Deluxe throttle to Van's as I already had one and I thought I could use it for the rear seat. No where did I see that the rear seat throttle was an option (I should have looked forward in the plans) , so those of you coming down this road, there is an option for the rear seat throttle that isn't included in the kit and you have to order. I wish Van's would put a list out of all the "other" stuff that you can order to make things a little easier and save on shipping.
Once it arrives, I'll apply the credit to the rear throttle and the Andair fuel valve that I will order this coming week.
I'm holding off on the upper longerons until we get into the beatter weather and I can make room in the garage to bend them.
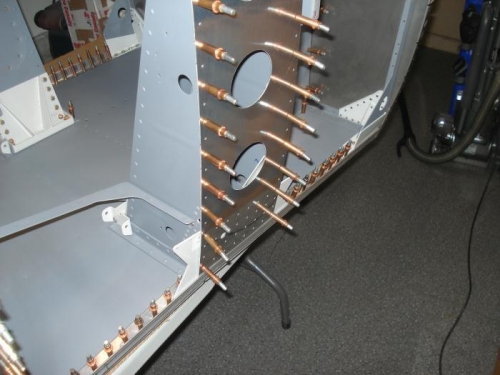
In picture #3, you can see the rear rudder pedal brackets have been installed. Install those now before you go any further in the build. It's just so much easier to do it.
Assembly on the side for easier drilling.
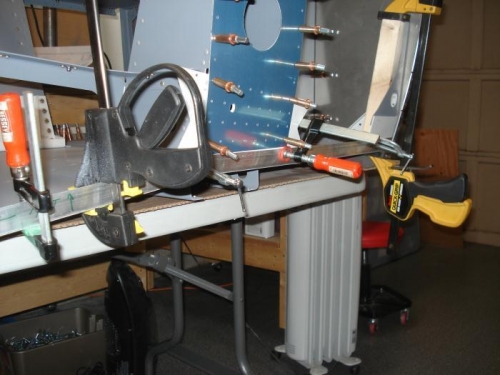
Right side clamped
Right lower longeron all drilled and clecoed and rear rudder pedal brackets installed.